
Our post-Thanksgiving tradition of purchasing a severely discounted turkey continues for the third year! Two years ago, we dipped our toes into the water by buying a 12 lb turkey. Last year, we jumped into the pool with a 20 lb bird. This year, I was allowed to go to the store unsupervised, and I did a cannonball off the high dive and bought an 18 lb AND a 22 lb turkey! I was a little afraid as I pulled into the driveway that I had indeed done a full on belly flop, but I didn’t get in trouble for the purchase!
Anyway, we like to feast on discount turkey throughout the year (no way we could beat $0.49/lb any other time), so we had to break them down into various cuts before sealing them in zip top bags and sending them to the chest freezer to wait for their day in the oven/grill/pan. We will be eating as much turkey as we can handle in 2021, and we are going to be saving a ton of money in doing so. So, we figured we’d show you how we broke down our birds so you can do the same in the future if you wish!
This processing guide also works with chicken, and so it also gives a nice economical way to buy that as well since whole birds are generally much cheaper per pound then pre-butchered…and you get the added benefit of the bones to Make Stock or Soup!
In the end, this isn’t too difficult. I apologize that not all of the pictures are great. Just remember as you’re doing this that the key to success is finding joints with some strategic cuts, popping them, and then working your knife through the connective tissue to break through. Also, as with most things, it gets easier with practice. If it takes longer than expected or doesn’t come out perfectly, try not to be discouraged. See if you can figure out what went wrong, and improve your technique for the next time (yay experimental cooking)!


Time: 45-90 Minutes (more if first time, less as you get more experienced)
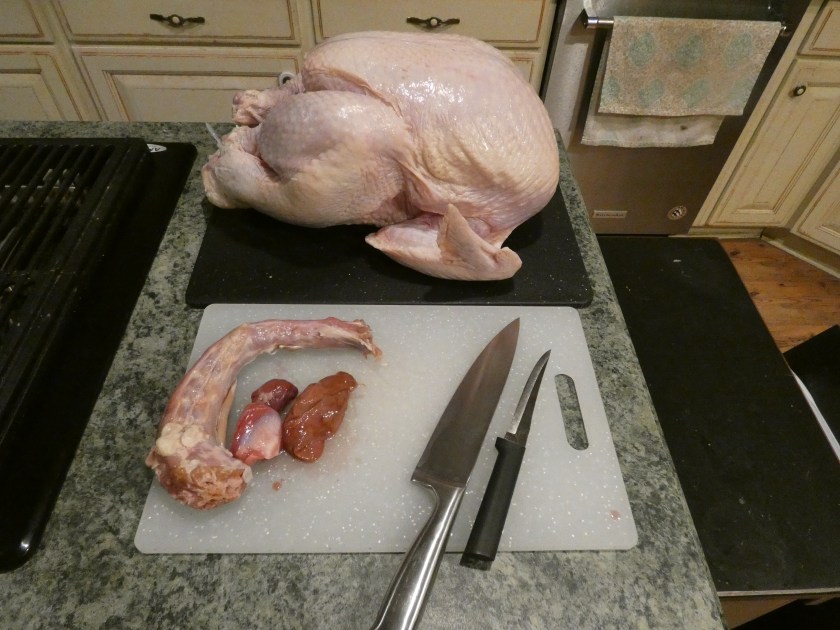
What you’ll need:
- Large Cutting Board(s)
- Sharp Fillet Knife
- Chef’s Knife
- Defrosted Turkey (or Chicken)
- Freezer grade zip top bags for storage. We used:
- 5 One Gallon Bags (One for each breast, one for things, one for drumsticks, and one for wings)
- 2 One Quart Bags (miscellaneous meat and giblets)
- Optional: Food Grade Disposable Gloves
- Optional (but highly encouraged): Patience
Method: For this, we will caption each processing picture to walk you through the steps.
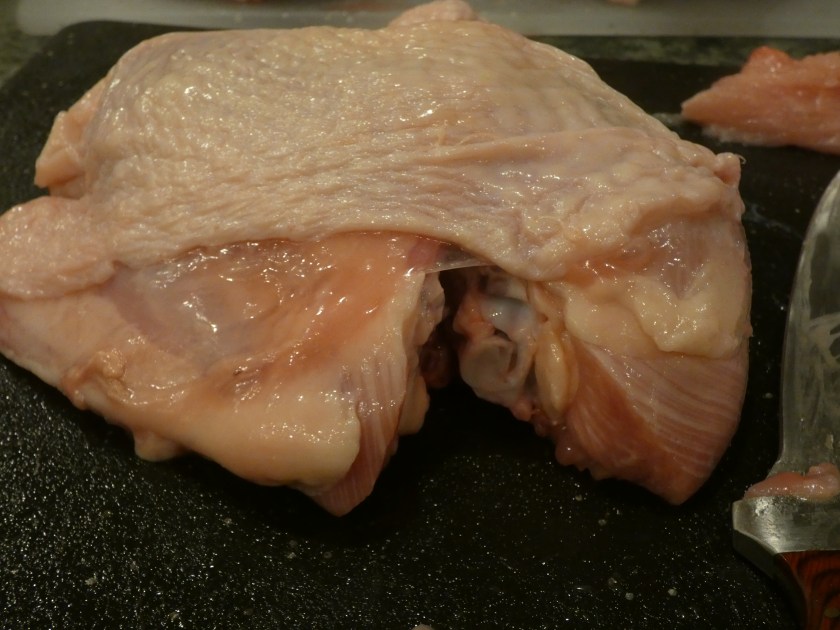
Legs and Thighs:


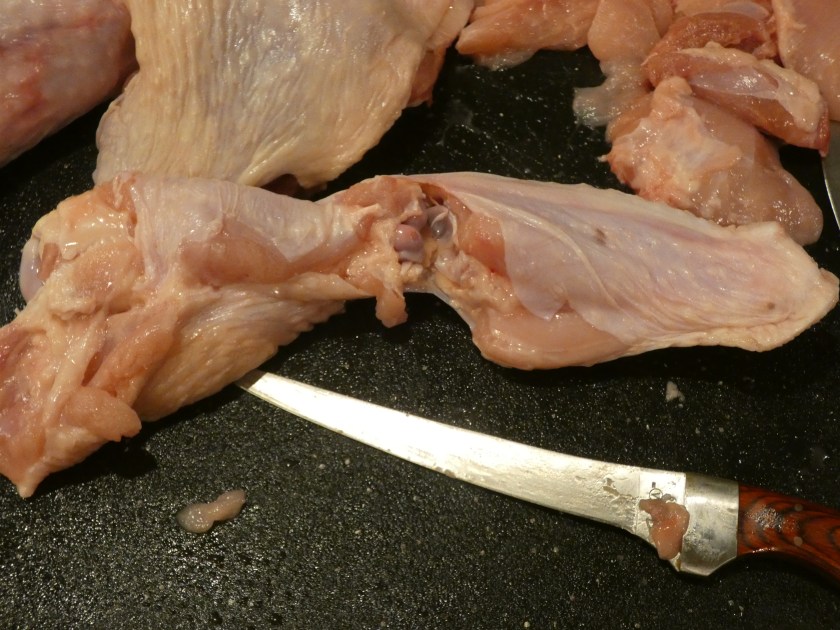
Wings:


Breast Meat:


Then, go back to your carcass and remove any good chunks of meat left (we normally have some on the back directly under where the breasts were and around the top of the thighs). We find this to be great to use in tacos, pot pies, or even to bread and fry for turkey tenders! These parts are in the middle front bag in the picture below (although that particular bag is two turkeys’ worth).
Bag for Freezing:

12 comments